So I've had Julep Joy for a while, but I have not gotten around to playing with it. Joy is a Boho Glam color from earlier in the year. For more info about the Julep Maven program,
check out my post about the May box!
 |
| Bottom of bottle of Julep Joy |
First, just look at Joy by herself on the nail- this only took one coat to get full coverage! I really like the color- it's like a deep pink and just different enough from my skin to look lovely, but not in your face. It glided on easily and quickly! It dried really fast too, which I also appreciated!
 |
| Julep Joy (1 coat), no top coat |
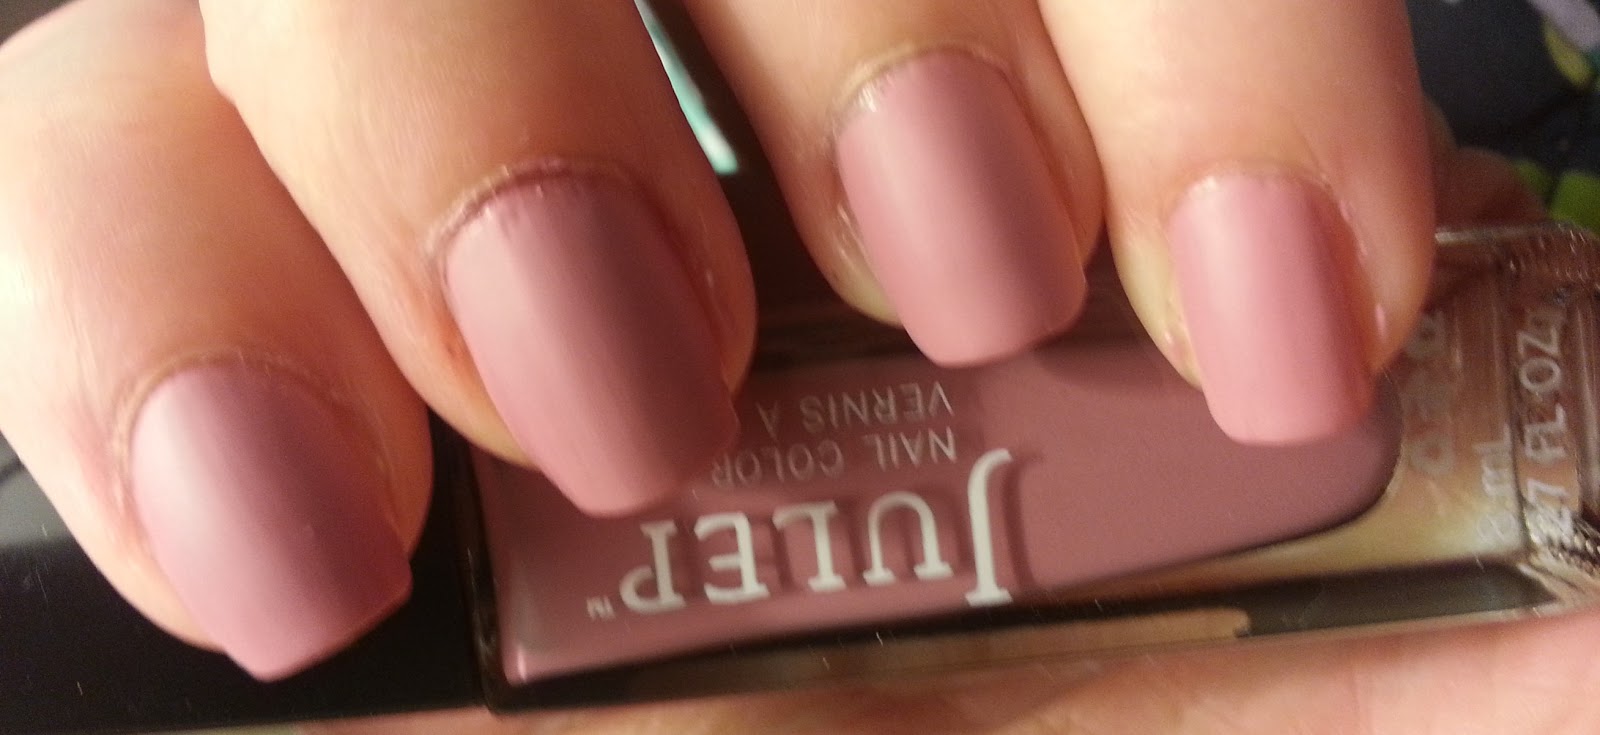
I decided to use the Matte Top Coat (which came in the November boxes) over it, because I wanted to try quilted nails (this was my nail fail). I really loved the look of this color matted though- it gives it such an elegant look!
 |
| Julep Joy (one coat) matted |
So, for the quilted nails, I had seen a tutorial that showed using dental floss to create the grooves in a diamond pattern. Easy, right? Wrong. It looked terrible on my nails.I used two coats of Joy on these nails, so the grooves could be deeper. I went ahead and finished with Zoya Blu dots between the diamonds, as the quilted nail look goes. I was hoping it would help but it certainly did not. I hate to show such a failure, but hey, nobody's perfect. Lesson learned: DO NOT USE DENTAL FLOSS FOR QUILTED NAILS. ;)
 |
| My nail art failure- these look awful! Sorry. Dental floss does not make a pretty quilted pattern. |
 |
| My ring and pinkie nail were the least terrible, so here they are a bit closer. Still not great!! |
BUT it did make me think, hey, polka dots would be awesome on Julep Joy!! So I looked at all the nearby colors for one to use spots with. (Let me just say, I LOVE polka dots. I can't get enough. A lot of my clothes involve polka dots...) I ended up picking Millie (maybe the smell wasn't as bad as I remembered? WRONG). The smell was bad. But I liked the color!! And putting a drop of it on my "palette" which is a clear plastic baggie, wasn't tooooo terrible. I went as quickly as I could. Here is the result though:
 |
| Julep Joy matted with Julep Millie polka dots on top! |
 |
| Another image of Julep Joy matted with Julep Millie polka dots! |
You can see a few strings between the spots. Millie started to dry before I finished, but I was loathe to get a new spot of polish to work with because of the smell... so I used it longer than I should have (polish gets stringy as it dries out!)
I loved this look so much, I did it on my right hand too and noticed it matched my PJ shorts! Told ya- I like polka dots!!
 |
| My right hand across my PJ shorts! Lovin' polka dots! |
 |
| My right hand with Julep Joy and Millie! |
My right hand is never as pretty, since I am right hand dominant, and my left hand cannot coordinate well enough to paint so nicely. But this way you get to see both hands looks! :)
Note/Tip: If you haven't done polka dots, I've found the way they will look the best is to do staggered lines of dots. This may seem counter-intuitive, but it looks so much nicer than when you scatter the spots!


No comments:
Post a Comment
All comments are much appreciated! I'd love to know what you think, but please keep it clean and respectful! Thank you! <3